Quick Started for Desktop
This quick started guide assumes the setup page is read and the environment is prepared.
The complete source code is in github.
User Story
For a software development, defining the user story is the first thing. Our quick started user story is this.
I want to kick off a mapping software for desktop, that allows to run multiple platforms including macOS, Linux and Windows. The first thing is to build an interactive map view with my world shapefile. The interactive map means that the map is capable to pan, zoom etc.
Let’s Get Started
This time, we are going to build a cross platform mapping software for desktop with web technology. Electron can perfectly satisfy this requirement.
Prepare The Project Baseline
From electron official guide, I think cloning the startup project is the easiest way. Follow the command below.
1 | git clone https://github.com/electron/electron-quick-start quick-started-desktop |
At this step, we clone an Electron startup project and installed its dependencies. We can evaluate whether our development environment is ready.
1 | yarn start |
If everything is fine, we will see the basic desktop surface.
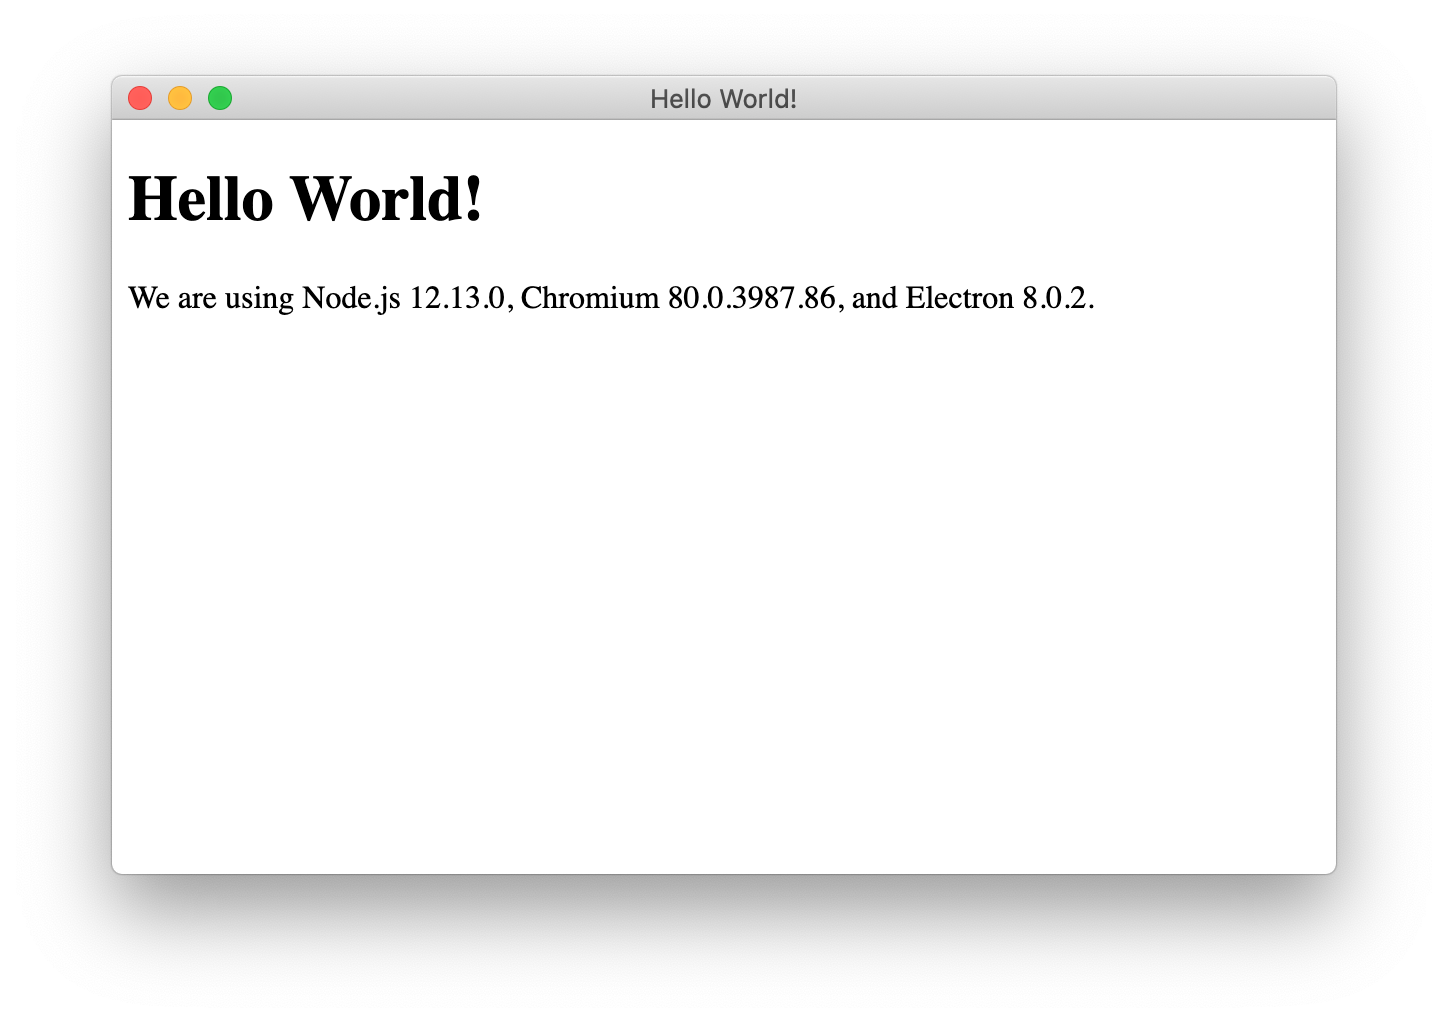
Now we will start to build our mapping software on this baseline.
Start to Build Map
Install Dependencies
The first thing is still install relative dependencies. We need 3 modules.
ginkgoch-map. Our map library for node.js, which provides the mapping features.leaflet. A great front end UI map library to build beautiful map on browser.ginkgoch-leaflet-extensions. A Leaflet extension that connectsGinkgoch Map LibraryandLeaflet.
1 | yarn add ginkgoch-map leaflet ginkgoch-leaflet-extensions |
Turn on Node Integration
Due to the startup project doesn’t turn on the node integration, we need to manually turn it on. Open main.js and add nodeIntegration: true to the webPreferences node.
1 | webPreferences: { |
Implement Client Code
Open index.html which is the place to layout your map software client interface.
1 |
|
Add Initial Map Code
Open file renderer.js which is your main working file.
1 | const L = require('leaflet'); |
Now let’s yarn start to take a look at the effect.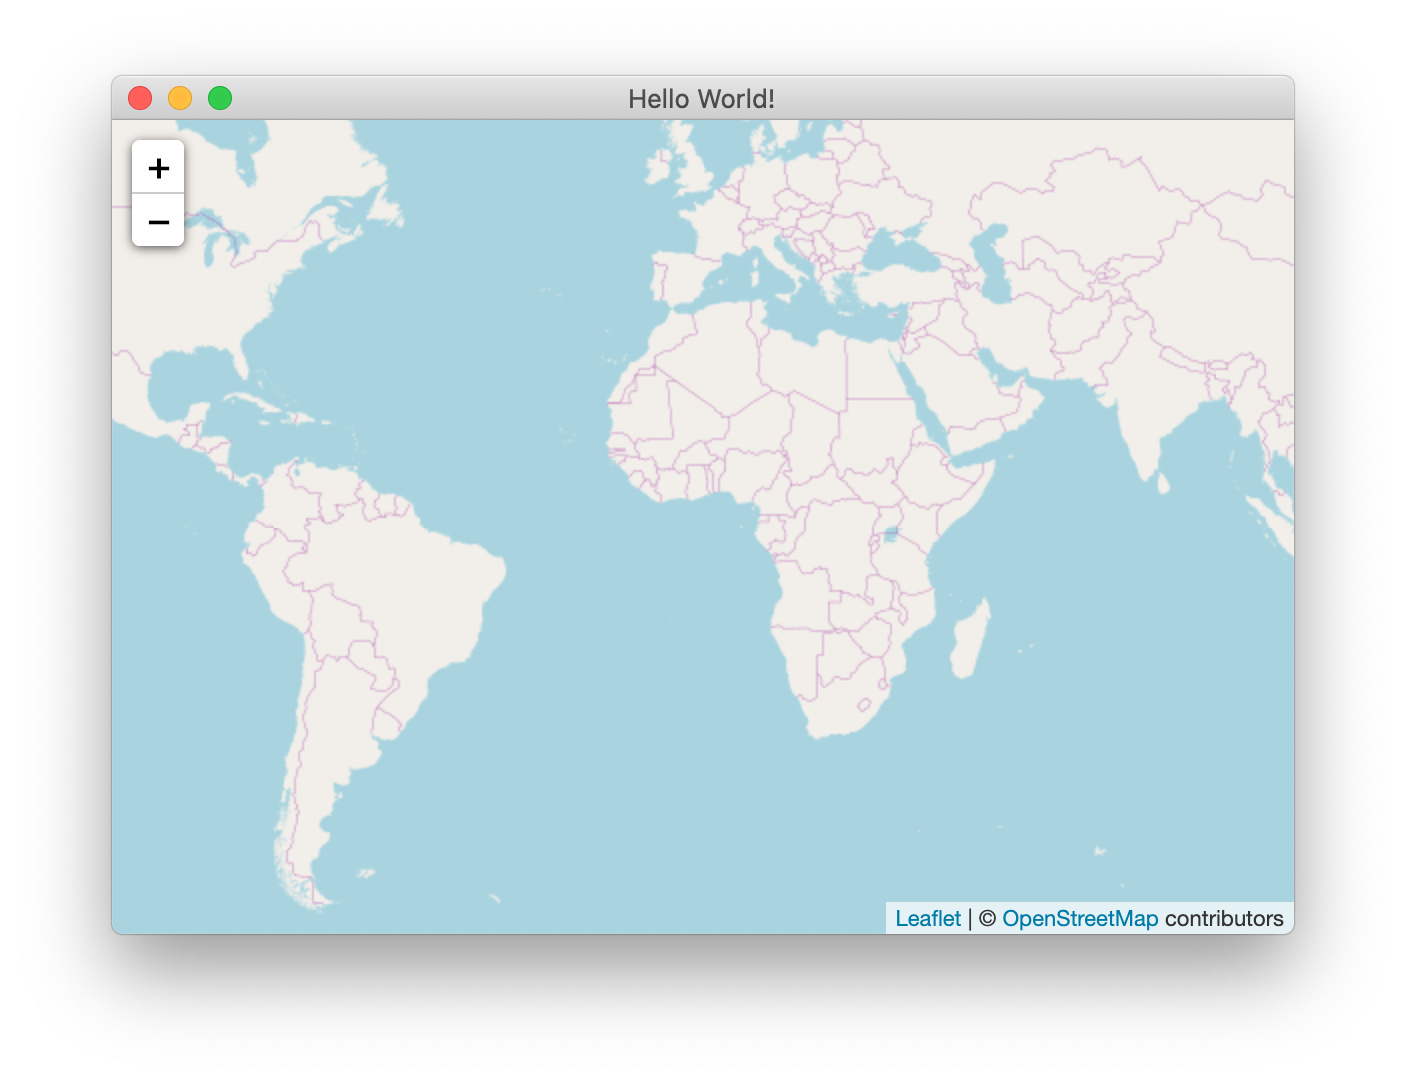
Add a New Layer for Your Local Shapefile
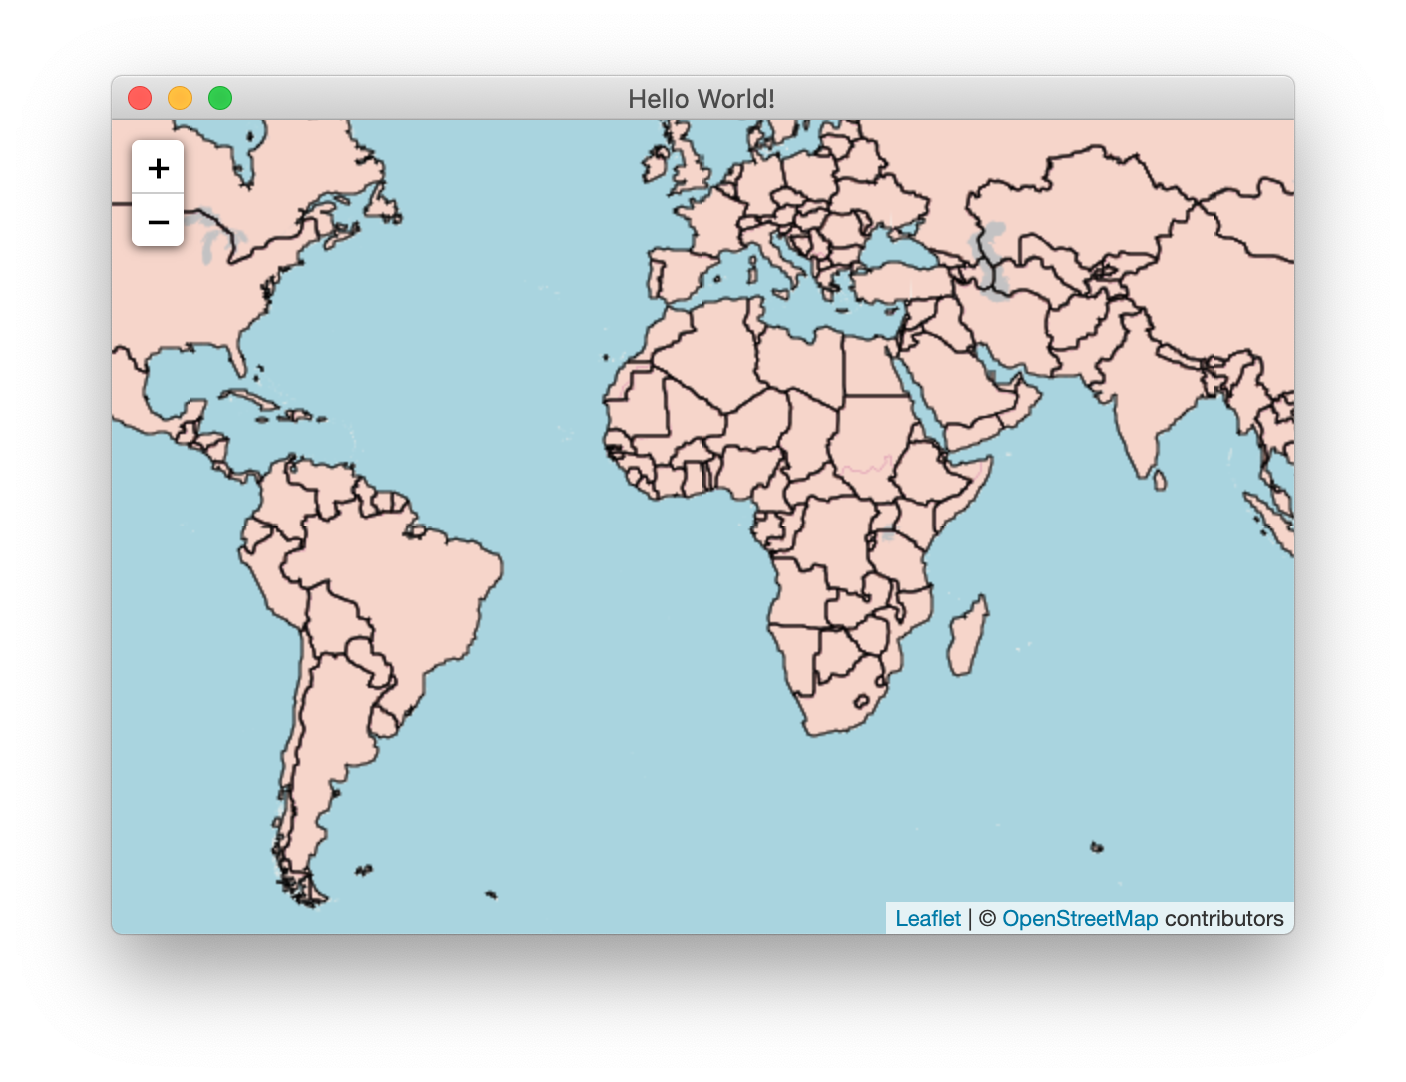
Don’t close this running process. Let’s keep working on the renderer.js and implement the addWorldLayer function for rendering shapefile on your local machine.
1 | function addWorldLayer(map) { |
Save file and switch to the desktop window. Press cmd+r to refresh, you will see the shapefile overlaps on the base map.
Summary
We can add more powerful features on the map, but we will stop here. I don’t want to make the quick started demo complex. The purpose is to quickly start your mapping software development. We will introduce more map functions later.